How to Root Fig Cuttings at Home
A step-by-step guide to rooting dormant fig cuttings, from unpacking your bundle to potting up a young tree in about six weeks.
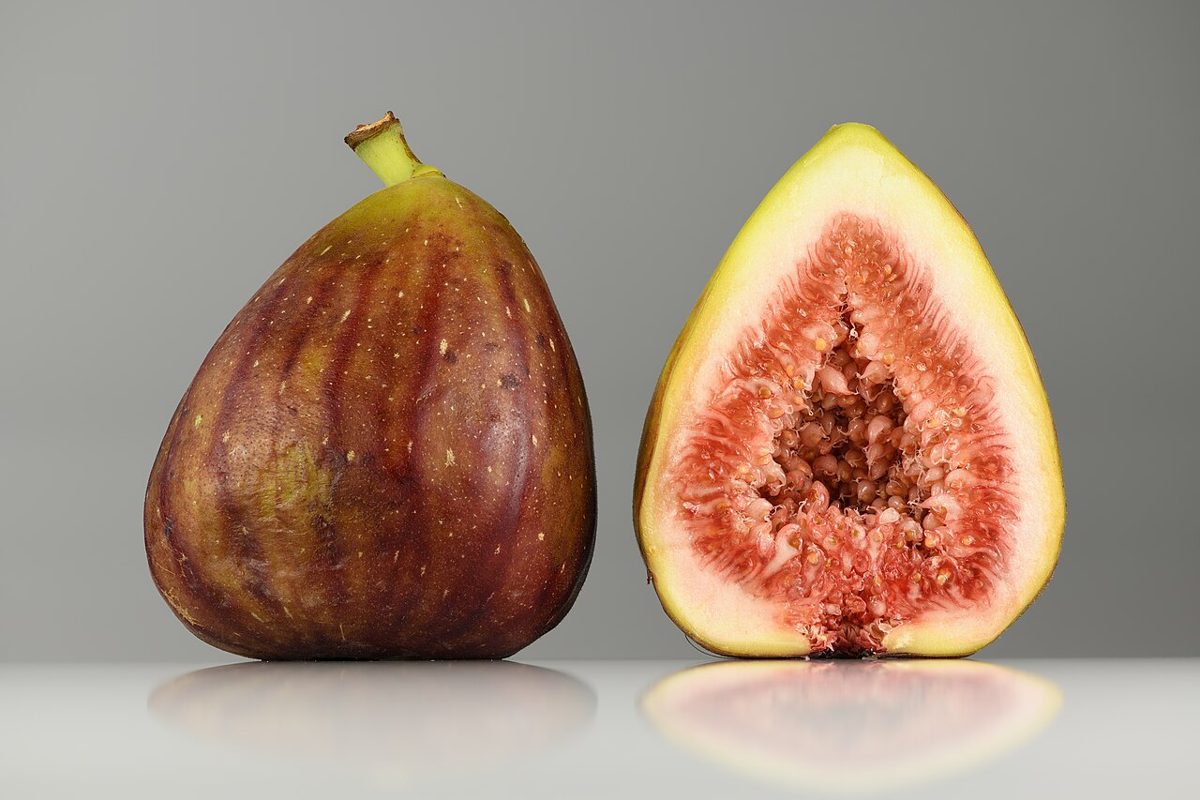
Figs are one of the easiest fruit trees to grow from cuttings. A dormant cutting already holds the energy it needs to push roots and leaves; your job is to give it warmth, a little moisture, and time. Here's the method we recommend for the cuttings we ship.
What you'll need
- Your fig cuttings, still labeled
- Clear plastic cups (16–18 oz) or small pots, with drainage holes
- A light, airy rooting mix: perlite on its own, or a 50/50 mix of perlite and seed-starting mix
- A clear tote or plastic bag to hold humidity
- A warm spot or a seedling heat mat (aim for 70–80°F)
1. Unpack and check your cuttings
Open the bundle as soon as it arrives. Cuttings should feel firm, with green tissue under the bark if you scratch lightly with a fingernail. If they can't be started for a few days, keep them sealed in their bag in the refrigerator.
Note which end is which: buds point up. A cutting planted upside down won't root.
2. Pot them up
Moisten the mix until it feels like a wrung-out sponge, never dripping. Fill each cup and push the cutting in so at least one node, the slightly swollen ring where a bud sits, is below the surface and one or two are above it. One cutting per cup makes it easy to see roots through the side and to pot up later without disturbing its neighbors.
Label every cup with the variety name.
3. Keep them warm and humid
Set the cups in the tote or loosely cover them, and keep them somewhere warm with bright, indirect light, not direct sun. Bottom heat speeds things up a lot.
Open the cover for a few minutes every day or two to let fresh air in. Water only when the mix starts to dry out. More cuttings are lost to rot from overwatering than to anything else.
4. Wait for roots (three to six weeks)
Leaves often appear before roots. That's normal: the cutting is spending stored energy, and it doesn't mean it has rooted yet. Resist pulling cuttings up to check. With clear cups, you'll see white roots against the side when they're ready.
If a cutting turns soft, black, or moldy at the base, remove it so the problem doesn't spread.
5. Pot up and harden off
When roots fill most of the cup, move the young tree into a one-gallon pot with regular potting mix. Over a week or two, open the cover a little more each day so leaves adjust to drier air, then introduce it gradually to outdoor light once nights stay above freezing.
Plant in the ground after your last frost, or keep it in a container. Many varieties, like Violette de Bordeaux and Ronde de Bordeaux, are happy in pots for years.
Troubleshooting
- Leaves wilt after a few days: humidity dropped too quickly. Re-cover and vent more gradually.
- Nothing happening after three weeks: check the temperature. Cool cuttings sit still; most stalls are fixed with a heat mat.
- Mold on the surface: it's too wet and too still. Let the mix dry slightly and vent more often.
Questions about your order or a specific variety? Email us at [YOUR EMAIL]. We're happy to help.